Pre-requisites
- You will need to know the Fully Qualified Domain Name (FQDN) of your AD FS Instance
- You will need to have the Metadata XML file for your organisation from Digital Theatre+. You can request this by completing Step 1 below.
Summary
- Provide your Single Sign On URL and Federation Metadata XML file to Digital Theatre+
- Create a Relying Party Trust and Claim Issuance Policy
- Retrieve the Encryption certificate used for validating SAML responses
- Send details to our support team and, once confirmed
- Perform testing of authentication, video playback and search results
Step 1 - Retrieve your Endpoint URLs
Retrieve the Single Sign On URL
- Open the AD FS Management tool

- Expand the “Service” folder and click Endpoints
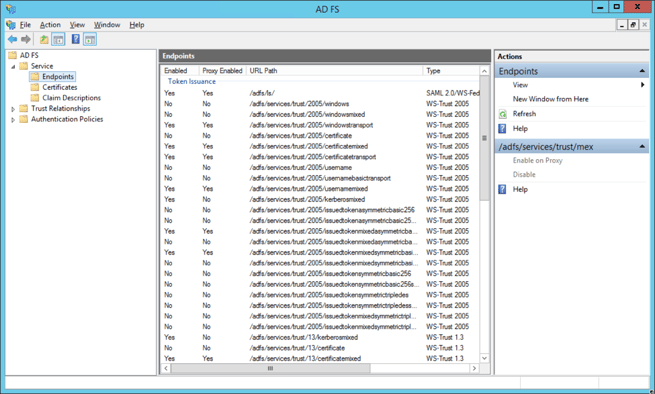
- The Single Sign On URL path is in the “Token Issuance” section of the Endpoints list. This value will be “/adfs/ls”, which is appended to the end of your FQDN to construct your Single Sign On URL. E.g. https://sso.digitaltheatreplus.com/adfs/ls
Retrieve your Federation Metadata
- The Metadata URL path is in the Metadata section. This value will be “/FederationMetadata/2007–06/FederationMetadata.xml”, which you can append to the end of your FQDN to access your Metadata URL. E.g. https://my-fully-qualified-domain-name.com/FederationMetadata/2007–06/FederationMetadata.xml
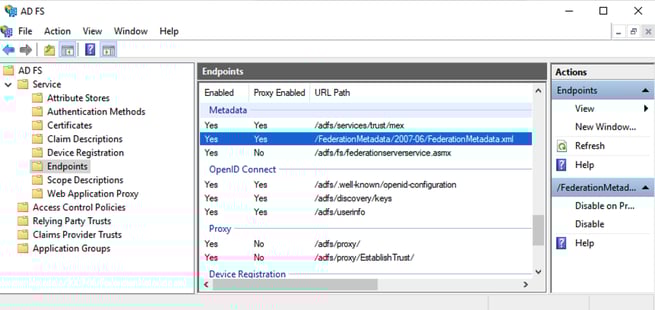
- Enter the Metadata URL into your web browser, and save the XML file locally
Send this information to Digital Theatre+ by replying to the support email thread, or if you have not started the process, open a new request via https://sso.digitaltheatreplus.com. Digital Theatre+ will then provide you with a Metadata XML file for use in the following step.
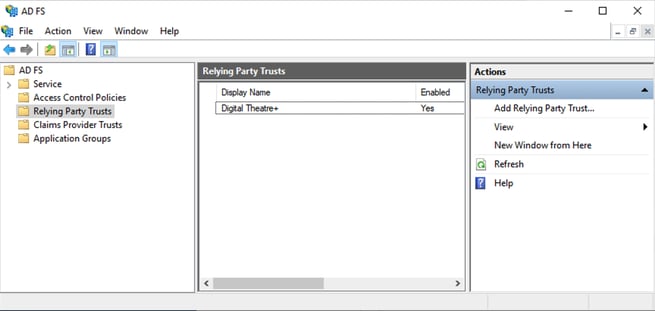
Step 2 - Create a relying party trust
- Select the Relying Party Trusts folder within the ADFS Management Tool
- Select Add Relying Party Trust... from the actions menu
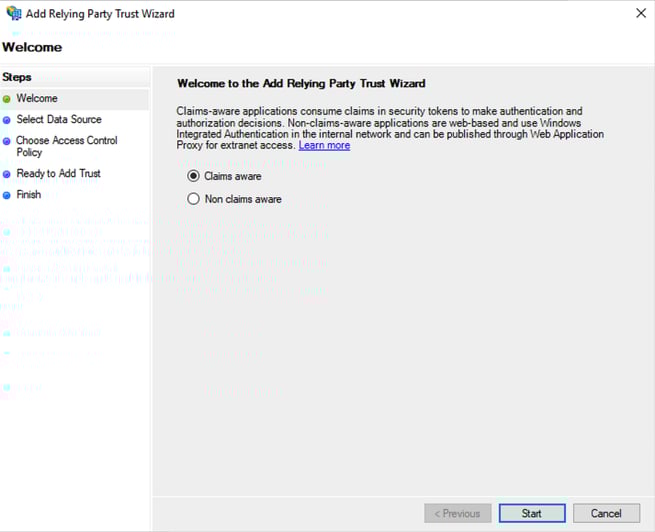
- In the Add Relying Party Trust Wizard select Claims aware and click Start
- Select Import data about the relying party from a file; select the metadata.xml file provided to you by Digital Theatre+, then click Next

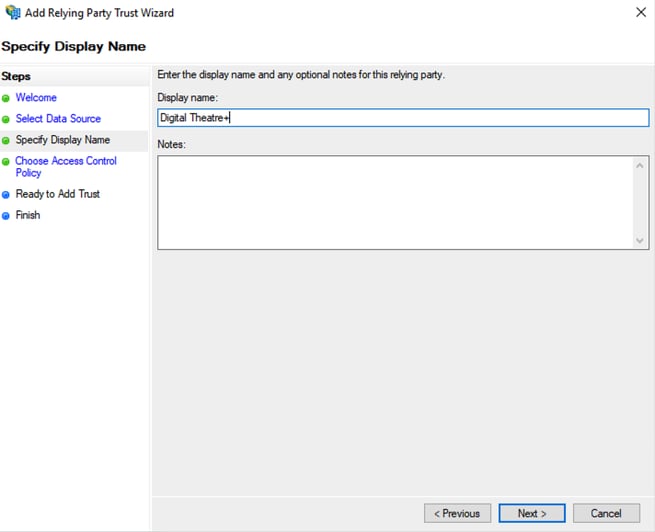
- Enter a recognisable Display name. For example: Digital Theatre+. Click Next
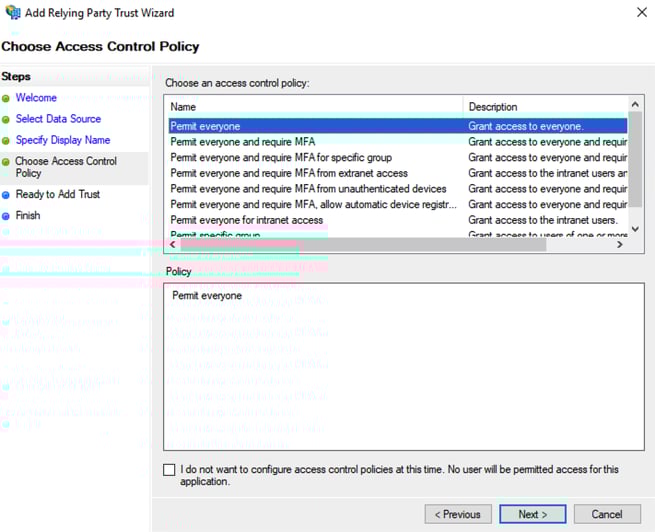
- Select an appropriate access control policy. If in doubt, select Permit everyone. Click Next
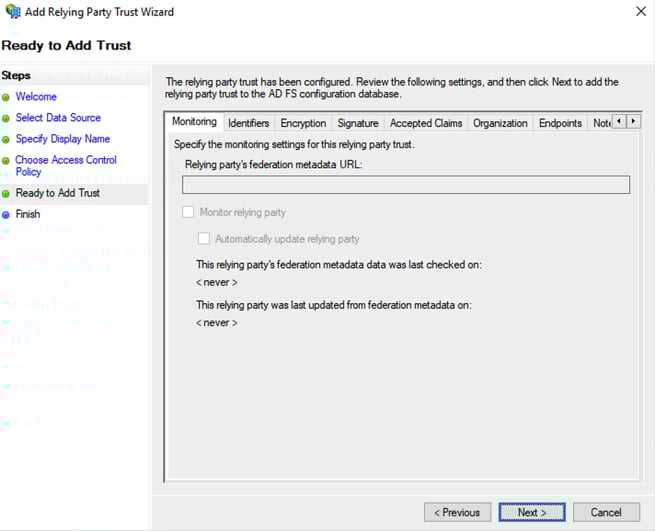
- Confirm the relying party trust configuration and click Next
- Click Finish
Add a Claim Issuance Policy
- Select the Relying Party Trusts folder in the AD FS Management tool
- Select the Digital Theatre+ Relying Party Trust you configured above
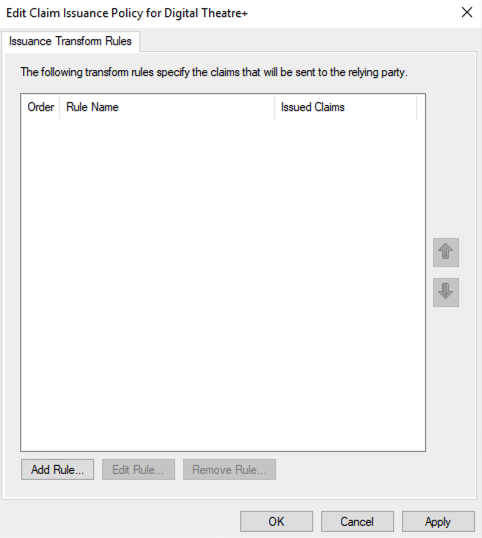
- Select Edit Claim Issuance Policy... from the actions menu
- Select Add Rule...
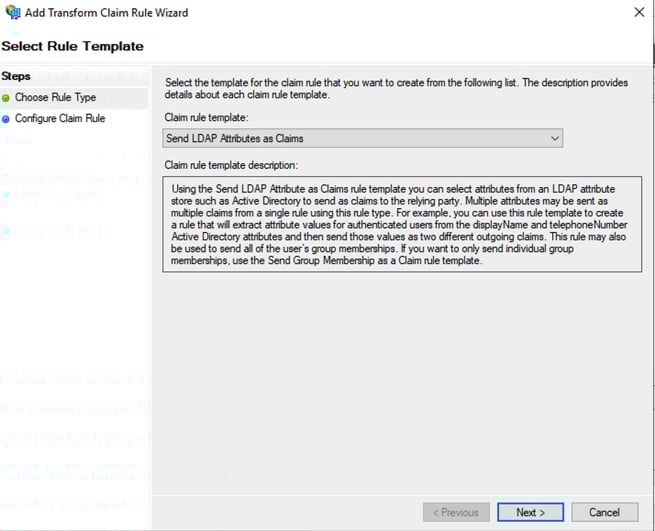
- Select the Send LDAP Attributes as Claims rule template, click Next
- Enter a recognisable name for the rule, e.g. Map Email Addresses to Email Address
- Select Active Directory as the Attribute Store
- Select E-Mail-Addresses as the LDAP Attribute and E-Mail Address as the Outgoing Claim Type
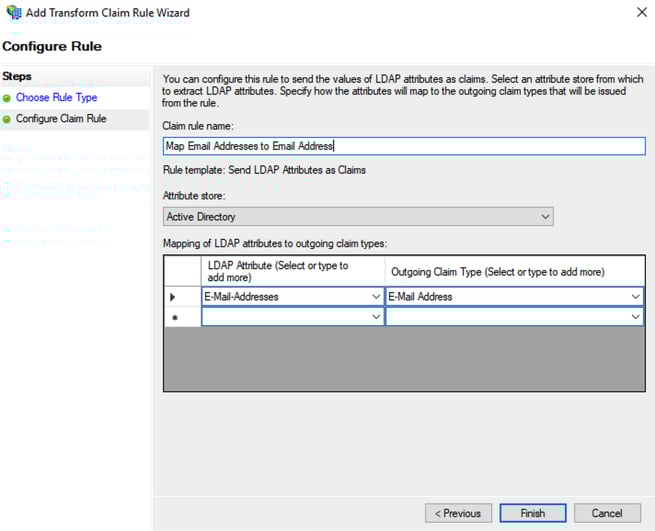
- Click Finish
- Select Add Rule... again
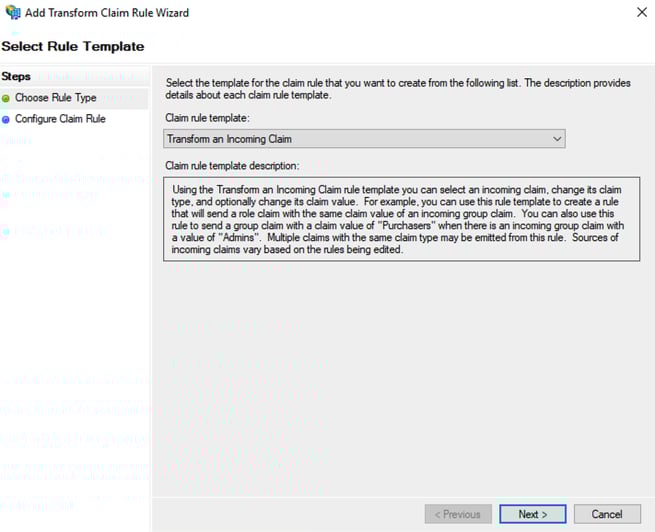
- Select the Transform an Incoming Claim rule template and click Next
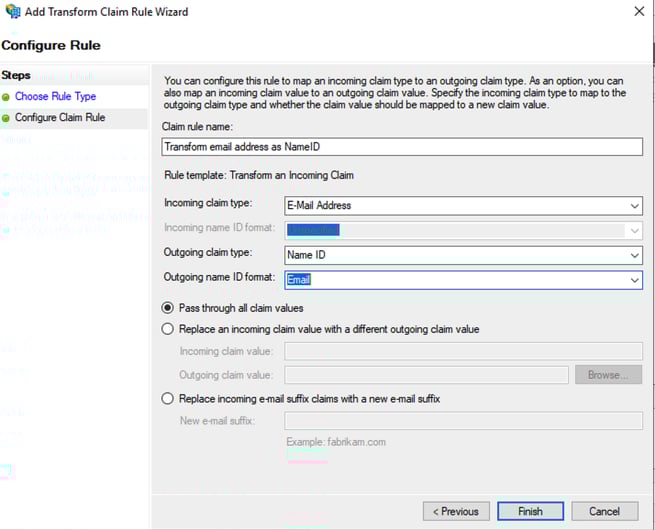
- Enter a recognisable name for the rule, e.g. Transform email address as NameID
- Select E-Mail Address as the Incoming claim type
- Select Name ID as the Outgoing claim type
- Select Email as the Outgoing name ID format
- Select Pass through all claim values, and click Finish
- Click OK to close the Claim Issuance Policy editor
Step 3 - Retrieve the Encryption certificate
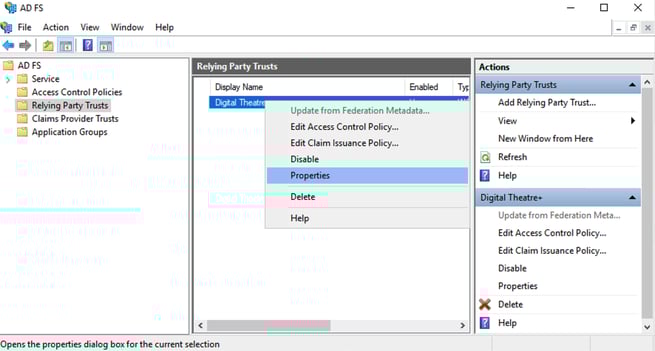
- Select the Relying Party Trusts folder in the AD FS Management tool
- Right-click the Digital Theatre+ Relying Party Trust you configured above and select Properties
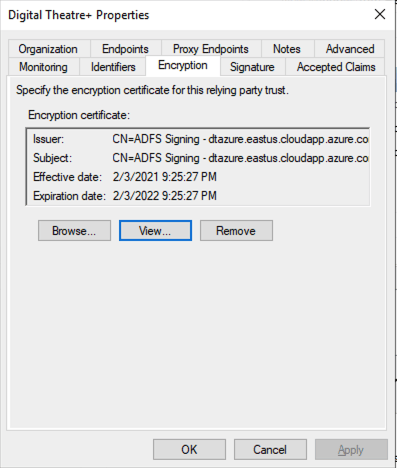
- Go to the Encryption tab and click View...
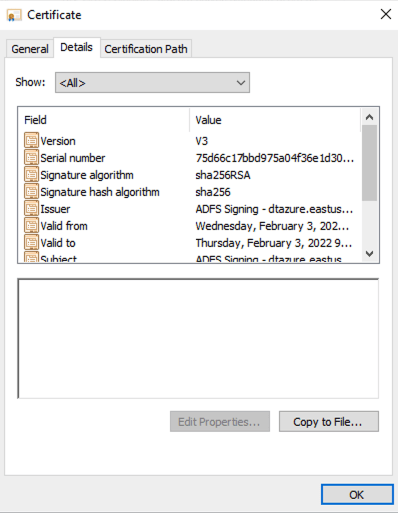
- Go to the Details tab and click Copy to File...
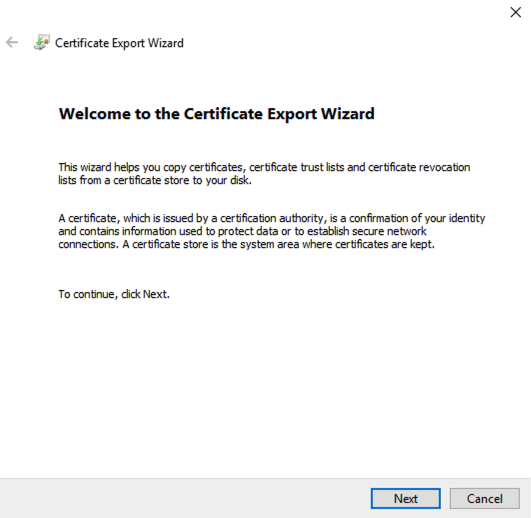
- Once the Certificate Export Wizard has started, click Next
- Select Base-64 encoded X.509 (.CER) as the file format, and click Next
- Export the file to a location you can access; you will need to email this file to Digital Theatre+.
Step 4 - Send your configuration to our support team
Send the following information via: https://sso.digitaltheatreplus.com
- Your Single Sign On URL
- Your Federation Metadata XML file
- Your Encryption certificate
- Confirmation that the Relying Party Trust and Claims Issuance Policy have been configured as described above
- Confirmation of the email domain used by your users to login
Step 5 - Test the configuration
On receipt of the above information, our support team will configure the Digital Theatre+ service using your configuration information.
Once complete, our support team will contact you and request you test that you can sign in using your AD FS SAML Provider.
Recommended testing procedure:
- Browse to https://edu.digitaltheatreplus.com/
- Click Sign In
- Authenticate to your organisation's AD FS system
- You should be logged into Digital Theatre+
- (Optional) Go to the Table of Contents, select a Production and confirm video playback works
- (Optional) Use the Search Digital Theatre+ form field to search for content - for example "Hamlet" and confirm search results are returned
- (Optional) Confirm that your email address is displayed in the top-right, click on this and confirm the organisation name displayed in the User Information Panel is correct.