As email addresses, first names and last names are all personally identifiable information, we cannot accept unencrypted files so please do not send this information to us via email.
Please follow the instructions below instead.
Steps to send your data to Digital Theatre+
- Create or export the list of email addresses into a CSV file
- Go to https://secure.digitaltheatreplus.com
- Enter your email address, organisation name and select the CSV file you wish to send to Digital Theatre+
- Click 'Upload file'
On successful upload of the file, our support team receive an email notification informing them of your file upload.
The secure transfer system only accepts files with a .csv extension.
What is a CSV file?
A CSV (or Comma Separated Value) file is a plain text file that contains data in list form. CSV files are generally used to share data.
CSV files can be exported from Spreadsheet software such as Microsoft Excel, OpenOffice Calc or MacOS Numbers, or they can be created using simple text editors such as Notepad on Microsoft Windows or TextEdit on MacOS.
What format should the CSV file have?
- The only information required is an email address on each row.
- No headers are required; if you include them, however, they will be ignored during the import.
Using Microsoft Excel
- Add an email address per row in the first column
- Choose File > Save As and change the File Format to CSV UFT-8 (Comma-delimited) (.csv)
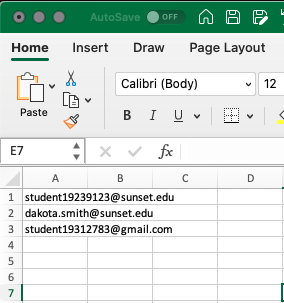
Using a text editor (such as Notepad)
Add an email address per line, and save the file with a .csv extension.
student19239123@sunset.edu
dakota.smith@sunset.edu
student19312783@gmail.com
Using MacOS Numbers
- Add an email address per row in the first column; set headers & footer to zero
- Choose File > Export To > CSV to save the file

Need further help?
- If you require assistance creating a CSV file, please contact your IT team or reach out to our Customer Service Team and we'll do our best to assist you